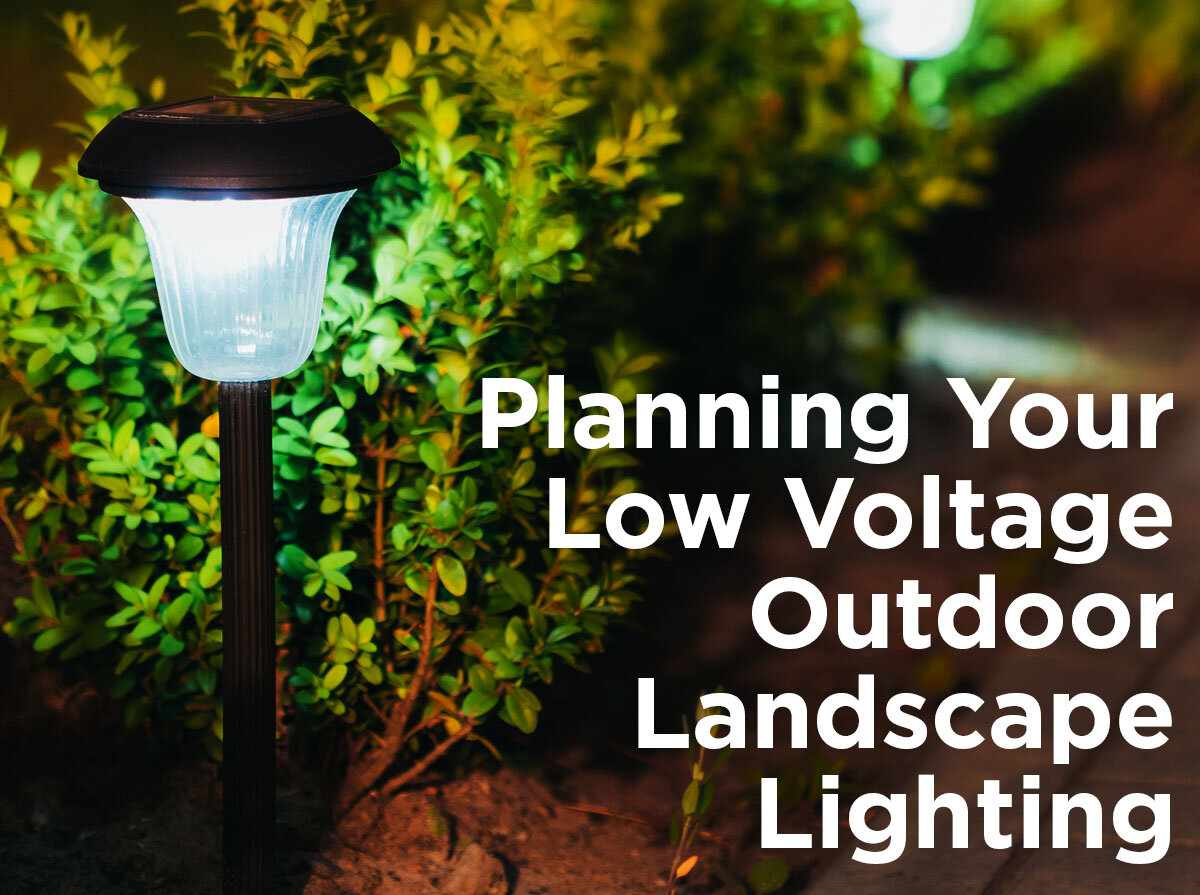
Once you have a plan for your landscaping and understand the basics of low-voltage outdoor lighting, it is possible to DIY the installation work.
Most homeowners can complete a low-voltage outdoor lighting installation project with a few tools and a free weekend afternoon.
Line voltage, defined as being at 120V, must be installed by a licensed electrician. Since 12V low-voltage lighting carries little risk of an electrical shock, the cables can get installed in shallow trenches according to most local codes.
Before you get started, you’ll want to review any HOA or city rules that might apply when installing new outdoor lighting on your property.
Steps to Follow When Installing Low-Voltage Outdoor Lighting
Although low-voltage outdoor lighting doesn’t require deep trenching, it’s still a great idea to have the existing irrigation lines, sprinkler system, and existing underground cables marked. Taking this step ensures unexpected damage (and the cost to repair) isn’t part of your installation project.
Once the items have been marked, you can follow these additional steps to complete the low-voltage outdoor lighting project.
- Unpack the landscape lighting fixtures. The manufacturer should provide assembly instructions for you to follow. After taking everything out of the box, install the bulbs and attach the mounts. Most products use stake mounting to keep the lights in place by sticking them directly in the ground. If you have in-ground or surface mounting, additional assembly work might be necessary.
- Clear a path for where the cable runs. It helps to have a project map drawn up to ensure that you have a straightforward plan to follow. If the line needs to run under a sidewalk, it helps to make the point where that should happen with some chalk, marker, or another temporary indicator.
- Mount the low-voltage transformer according to the manufacturer’s instructions. You’ll need to have at least 12 inches of clearance in all directions for a successful result. It should also be at least 30 feet away from any water feature and placed somewhere that can withstand heat.
- Dig the trenches for the cable according to the landscape lighting plan. Local codes typically determine how deep it should be, but it is usually somewhere between 3-6 inches. Place the wires in each trench, covering them with dirt, with at least five feet at each end left unburied so that you have room to make adjustments.
- Start the system connection process. Most landscape lighting today uses clamp connect transformers that have levers instead of screw mechanisms for the wires. Start by connecting the main run, placing one strand in the core terminal and the other marked 12V or 15V. The first is for a shorter run, while the other is for longer ones that draw extra power.
- Connect the fixtures by splicing the leads into the main runs. Most low-voltage outdoor lighting uses a twist-style or clamp-on design to simplify this process. The latter option doesn’t require you to strip the wire in most instances, creating an instant connection for each fixture.
- Once all the light fixture connections are made, it’s possible to test the system. Turn on the transformer, walk around the property, and check to see that each bulb is lit. If you only have one that doesn’t shine, there could be an issue with that specific connection. When all are out, you’ll need to check the links at the transformer.
- Once all the fixtures are functioning correctly, you can start the adjustment phase of your low-voltage system. It helps to wait until the evening before finalizing where you want each light to focus. After you’ve finished this work, it helps to take a walk around your property to ensure each light aims at the desired fixture.
- When inspecting your low-voltage lighting system, it helps to look for glare coming from each fixture. If you see any, the remedy is to adjust the angle or position the guard more appropriately.
- The last step of the project is to bury any of the remaining wires. If your transformer has a timer, you can program it to turn on during the evening hours only to maximize the lifespan of this investment.
Once you’ve completed these steps, you’re finished with the installation! If you encounter any issues with the landscape lighting installation or have questions about placement and design, reach out to our team at your convenience. We’ll be happy to discuss your project and get you the answers you need. Find the best local landscaping services contractors near to you with Nearly Services.


1 Comment
You should take part in a contest for one of the greatest blogs on the net. I most certainly will recommend this site!